
What You Need Before You Begin
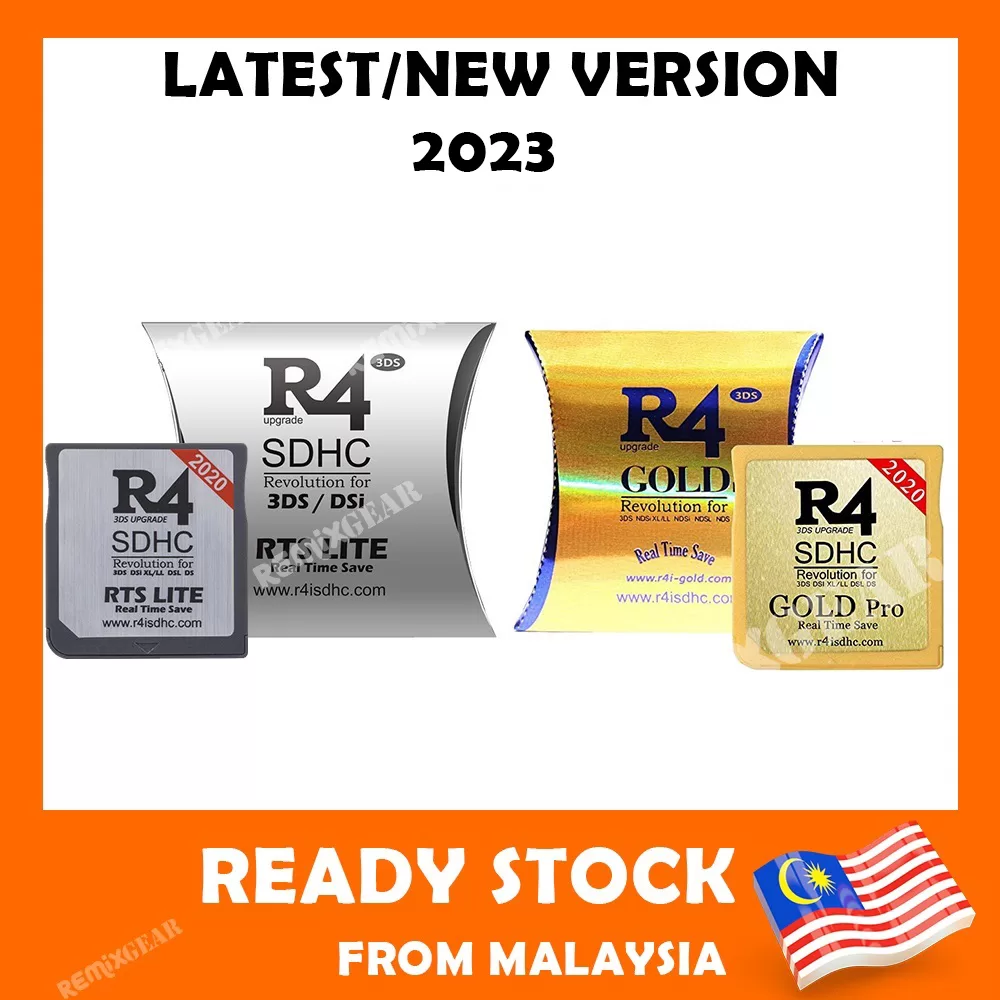
Getting started with the R4i Gold Pro SDHC 3DS is straightforward, but a little preparation goes a long way. Before you insert anything into your console, gather the following items:
- A Nintendo DS, DSi, DSi XL, 2DS, 3DS, or 3DS XL running compatible firmware
- A microSD card (Class 10 or faster recommended; 8 GB to 32 GB is the sweet spot)
- A microSD-to-USB or microSD-to-SD adapter for your PC or Mac
- The latest kernel files from the official R4i Gold support page
- Your R4i Gold Pro SDHC 3DS card itself
Having everything on hand before you start means you will not need to stop mid-setup, which is the most common source of user errors.
Step 1 — Format Your microSD Card Correctly
Card formatting is the foundation of a reliable setup. An improperly formatted card causes boot failures, corrupted saves, and random freezes.
- Use FAT32 as the file system — not exFAT, not NTFS.
- Set the allocation unit size to 32 KB for cards 8 GB and above.
- On Windows, use the free tool SD Card Formatter from the SD Association for the cleanest result. On macOS, Disk Utility works fine with the MS-DOS (FAT) option.
- Do not quick-format if you are reusing a card that previously held other data; a full format catches bad sectors early.
Step 2 — Download and Install the Correct Kernel
The kernel is the operating system that runs on the flash card. Without the right kernel version, the card will either show a blank screen or refuse to load games.
- Visit the official R4i Gold website and navigate to the download section for the RTS (Real Time Save) variant.
- Download the latest kernel ZIP archive to your computer.
- Extract the archive. You will see a folder structure containing files such as _DS_MENU.DAT, _DS_MSHL.NDS, and a __rpg or moonshl2 folder depending on the kernel version.
- Copy all extracted files and folders to the root of your formatted microSD card — not inside a subfolder.
- Safely eject the card from your computer before removing it.
Skipping the safe-eject step is a surprisingly common mistake that corrupts the file allocation table and forces you to reformat and start over.
Step 3 — Add Your Game ROMs
With the kernel in place, you can now populate the card with games. The R4i Gold Pro SDHC 3DS supports standard .nds ROM files for DS and DSi titles.
- Create a dedicated folder on the root of the card — something like /Games/ — to keep things organised.
- Copy your legally obtained .nds files into that folder.
- File names can contain spaces and most special characters, but keep them reasonably short to avoid display truncation on the card's menu.
- Avoid nesting games more than two folders deep; some kernel versions have trouble rendering deeply nested paths.
If you purchased the bundle version of the R4i Gold Pro SDHC 3DS that comes pre-loaded with over 550 games, your microSD card will already contain a curated game library — you can skip directly to Step 4.
Step 4 — Insert the Card and Boot Your Console
Now comes the satisfying part.
- Insert the microSD card into the slot on the R4i Gold card itself. The card clicks into place; if it does not click, it is not fully seated.
- Insert the R4i Gold card into your Nintendo handheld's cartridge slot as you would any retail game.
- Power on the console. On a DS or DSi, select the cartridge from the main menu. On a 3DS or 2DS, the card appears as a standard game icon on the home screen.
- The R4i Gold menu will load, displaying your game list. Use the D-pad or touchscreen to navigate.
If the console shows an error such as "An error has occurred" or simply boots to a white screen, the most likely causes are: kernel files not at the root level, wrong FAT32 allocation size, or a microSD card that is not fully inserted into the R4i Gold card.
Step 5 — Configure Real-Time Save (RTS) Settings
One of the headline features of this card is Real-Time Save — the ability to snapshot your game state at any moment, not just at in-game save points. Here is how to use it effectively.
- During gameplay, press the hotkey combination shown in the kernel's settings menu (commonly the L + R + SELECT combination) to open the RTS overlay.
- Choose Save State to write your current position to the microSD card.
- Choose Load State to restore it.
- You can store multiple RTS slots per game, which is useful for branching story games where you want to preserve decision points.
RTS states are saved as separate files alongside the ROM, so backing up your microSD card periodically protects both your saves and your RTS snapshots.
Step 6 — Troubleshooting Common Issues
Card Not Recognised by the Console
Check that the kernel's _DS_MENU.DAT file is present at the root of the microSD, not inside a folder. Also verify that the microSD card is not larger than 32 GB — some kernel versions do not support SDXC cards.
Games Freeze or Crash at Startup
A small number of DS titles require a specific cheat or patch to run correctly on flash cards. Open the kernel's cheat database, find the game, and enable the "Anti-Piracy Bypass" or "AP Patch" cheat if one is listed. This resolves the vast majority of game-specific launch failures.
Save Files Not Writing
Confirm the microSD card is not write-protected. Some adapters have a physical lock switch on the side — slide it to the unlocked position before copying files.
Tips for Long-Term Reliability
- Keep the kernel updated. Kernel updates occasionally add compatibility for newer titles and fix edge-case bugs.
- Back up regularly. Copy your entire microSD card to your computer every few months. Flash memory is durable but not immortal.
- Handle with care. The gold-plated contacts on the R4i Gold card are robust, but avoid touching them directly. Oils from skin can cause intermittent read errors over time.
- Use quality microSD cards. Stick to reputable brands such as Samsung, SanDisk, or Lexar. Counterfeit cards are common on discount marketplaces and fail unpredictably.
Final Thoughts
Setting up the R4i Gold Pro SDHC 3DS takes about fifteen minutes from unboxing to playing your first game, and the process becomes second nature after the first time. The key steps — FAT32 formatting, kernel at the root, and correct microSD insertion — account for almost every setup issue users encounter. Follow this guide carefully and you will have a stable, feature-rich flash card setup that serves your Nintendo handheld for years.
FAQ
What microSD card size works best with the R4i Gold Pro SDHC 3DS?
An 8 GB to 32 GB Class 10 microSD card formatted to FAT32 with a 32 KB allocation unit size is the recommended range. Cards larger than 32 GB may not be supported by all kernel versions.
Can I use the R4i Gold Pro SDHC 3DS on a 3DS XL running the latest firmware?
Compatibility depends on your console's current firmware version and the kernel version installed on the card. Always check the official R4i Gold compatibility list before updating your console's system software.
What is the Real-Time Save (RTS) feature and how does it work?
RTS lets you save your exact game state at any moment — mid-level, mid-battle, or anywhere else — without relying on in-game save points. You trigger it with a hotkey combination and can store multiple slots per game.
My game shows a white screen after loading. What should I do?
Enable the Anti-Piracy (AP) patch cheat for that specific game in the kernel's cheat database. Most white-screen issues on DS flash cards are caused by the game's copy-protection check failing, and the AP patch bypasses it.
Comments
No comments yet. Be the first to share your thoughts.